Introduction.
If you’re looking to connect with your audience more effectively, a newsletter is one of the best ways to do it.
In this guide, I’ll walk you through the steps of adding a newsletter to your WordPress site. Don’t worry, you don’t need to be a tech expert for this. I’ll make it easy to follow, even if you’ve never tried it before.
Make sure to subscribe to this article
That’s a huge return, and a clear sign that adding a newsletter to your site can be a game-changer.
So, why should you consider adding a newsletter to your WordPress site? Let’s break it down:
How Do I Add a Newsletter To WordPress?
1. Stay Connected with Your Audience
A newsletter is a direct line to your readers or customers. Unlike social media, where algorithms can limit who sees your posts, email goes straight to the inbox of people who have already expressed interest in your content. It’s the most personal and reliable way to communicate.
2. Boost Engagement and Traffic
When you send regular newsletters, you keep your audience engaged and remind them of your website.
This can drive more traffic to your site. It’s also an opportunity to promote your latest blog posts, products, or services, which can lead to higher conversions.
3. Build Your Brand
A well-crafted newsletter helps you establish and maintain a consistent brand voice. Whether you’re offering useful tips, showcasing new products, or sharing exclusive offers, your newsletter can be a great way to reinforce your brand’s values and style.
4. Grow Your Email List
Your email list is an asset. The larger it grows, the more opportunities you have to nurture relationships with potential customers.
Adding a newsletter sign-up form to your site encourages visitors to subscribe, which means more people will get your updates directly in their inbox.
5. Easy to Set Up
Setting up a newsletter on WordPress doesn’t need to be complicated. There are several plugins available that make the whole process smooth and simple. No coding knowledge required!
Now, let’s get into the details of how to add a newsletter to your WordPress site.
How Do I Add a Newsletter to WordPress?
Here’s a step-by-step guide to getting your newsletter up and running on your WordPress site.
1. Choose a Newsletter Plugin
The first thing you’ll need is a good plugin to manage your newsletter. WordPress has many plugins for email marketing, and some of the most popular ones include:
- Mailchimp for WordPress – This is a well-known plugin that integrates easily with Mailchimp, one of the most popular email marketing tools.
- Sendinblue – A powerful plugin for email marketing, perfect for businesses that need advanced features.
- Newsletter Plugin – A simple, free plugin that’s great for small websites or beginners.
- Constant Contact – Another reliable option with easy integration and great customer support.
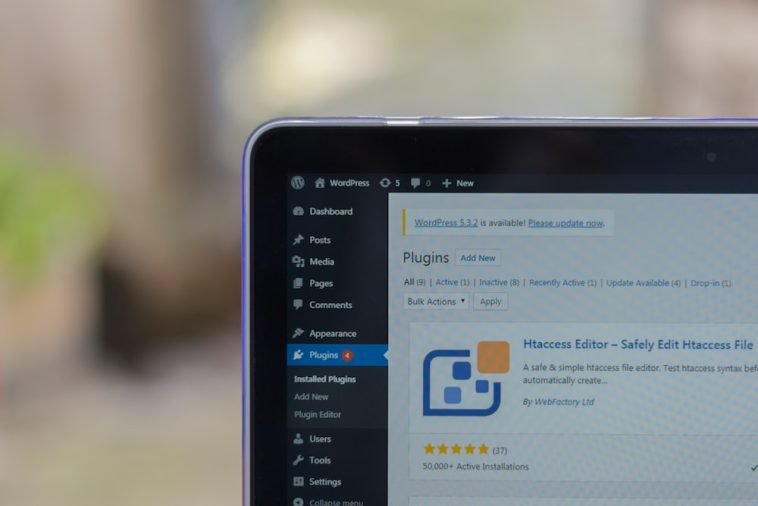
You can search for these plugins in the WordPress plugin repository. Just go to your WordPress dashboard, click on Plugins > Add New, and type the plugin name into the search bar.
2. Install and Activate the Plugin
Once you’ve chosen a plugin, click Install and then Activate. This is the easy part! After activation, you’ll usually see a new menu in your WordPress dashboard specifically for your email marketing plugin.
3. Create a Newsletter Signup Form
After installing and activating the plugin, you’ll need to create a sign-up form. The form will allow visitors to subscribe to your newsletter. Most plugins come with pre-built templates, so you can just choose the one you like.
You’ll typically be asked to set up:
- Form fields: You can choose what information you want to collect (name, email address, etc.)
- Design and style: Many plugins let you customize the design of your form, so it matches your site’s branding.
- Success message: After someone subscribes, you can set up a success message that pops up to thank them.
4. Add the Form to Your Site
Once you’ve designed your sign-up form, you’ll need to place it on your site. Here are a few common options:
- Sidebar Widget: If you want the sign-up form to be visible across all pages, you can add it to your site’s sidebar using the widget area.
- Pop-up Form: Some plugins allow you to display the form as a pop-up after a visitor has been on your site for a certain amount of time or has scrolled down a bit. This is a great way to grab attention without being too intrusive.
- Dedicated Landing Page: You can create a separate page on your website that is dedicated to capturing newsletter sign-ups.
- Footer or Header: Another good spot to place your form is in the footer or header, where it’s visible without being too overwhelming.
5. Set Up Your Email List
After your form is in place, you’ll need to connect it to your email marketing platform. Most plugins make this super easy by offering integration with popular email services like Mailchimp, Constant Contact, or Sendinblue.
Once connected, you can create an email list where all your new subscribers will be added. You can then start sending newsletters to them.
6. Create and Send Your First Newsletter
Now that everything’s set up, it’s time to start creating content for your newsletter. When writing your emails, remember to keep it engaging and valuable. Here are a few tips:
- Personalize your emails: Use the subscriber’s first name to make the email feel more personal.
- Keep the content relevant: Only send emails that your audience will care about. You don’t want to annoy people with irrelevant information.
- Include a clear call-to-action (CTA): Whether it’s a link to your latest blog post, a special offer, or an event, always have a clear CTA to drive your readers to take action.
After creating your newsletter, you can send it out to your subscribers with just a click of a button.
Tips for Growing Your Newsletter List
Having a newsletter sign-up form is just the beginning. To make the most out of your newsletter, you need to grow your list. Here are a few tips:
- Offer Incentives: People love free stuff. Offer a discount, free ebook, or exclusive content in exchange for their email address.
- Use Social Media: Promote your newsletter on your social media channels to drive more traffic to your sign-up form.
- Add a Pop-up Form: Pop-ups can be a little controversial, but they work. If done right, they can boost your sign-up rates significantly.
FAQs
Q: Do I need a third-party email service to send newsletters?
A: Not necessarily! Some WordPress plugins, like Newsletter Plugin, allow you to send newsletters directly from your WordPress site.
However, using an email service like Mailchimp or Sendinblue can offer more features, like automated emails, better tracking, and higher deliverability.
Q: How often should I send a newsletter?
A: It really depends on your audience and the type of content you’re sharing. A good starting point is once a week or once a month. Don’t spam your subscribers, but keep them engaged with valuable content.
Q: Will my emails end up in spam folders?
A: It’s possible, but if you follow best practices (like using a verified email address, not sending spammy content, and including an easy way to unsubscribe), you can avoid the spam folder. It’s also helpful to get your email service provider’s help with ensuring better deliverability.
Conclusion
Adding a newsletter to your WordPress site is a simple yet powerful way to build relationships with your audience and keep them engaged.
With the right tools and a little time, you’ll be able to connect with your visitors directly, drive traffic to your site, and even boost sales.
Ready to give it a try? What’s holding you back from adding a newsletter to your WordPress site?


GIPHY App Key not set. Please check settings