Introduction.
An SSL (Secure Sockets Layer) certificate encrypts the data exchanged between your website’s server and your visitors’ browsers, ensuring that sensitive information remains confidential and protected from potential threats.
If you’ve chosen Namecheap as your domain registrar and web hosting provider, you’re in luck. Namecheap offers a user-friendly interface and seamless integration for adding SSL certificates to your website.
This step-by-step guide will walk you through the process of adding an SSL certificate to your website hosted on Namecheap, bolstering your website’s security, search engine rankings, and overall user experience.
Whether you’re running an e-commerce site, a blog, or any other type of online presence, follow these instructions to enhance your website’s security and gain the trust of your visitors in just a few simple steps.
Understanding SSL Certificates: Why They Matter.
Before we dive into the technical steps, let’s briefly grasp why SSL certificates are vital for any website.
An SSL certificate encrypts the data transmitted between your website’s server and your visitors’ browsers.
This encryption ensures that sensitive information, such as passwords, credit card numbers, and personal details, remains confidential and protected from potential cyber threats.
Moreover, search engines like Google favour websites with SSL certificates, resulting in higher search rankings. This serves as an additional incentive to secure your website with an SSL certificate.
How Do I Add SSL Certificate To My Website On Namecheap?
One of the most effective ways to accomplish this is by adding an SSL (Secure Sockets Layer) certificate to your website. If you’ve chosen Namecheap as your hosting provider and domain registrar, you’re in luck!
This step-by-step guide will walk you through the process of securing your website with an SSL certificate on Namecheap’s platform, enhancing your website’s security, credibility, and user experience.
Step 1: Choose the Right SSL Certificate.
Namecheap offers a range of SSL certificates to cater to different needs and security levels. Depending on the nature of your website and your visitors’ requirements, you can opt for a Domain Validation (DV), Organization Validation (OV), or Extended Validation (EV) certificate.
Consider factors like the level of trust you want to convey and the extent of security you require.
Step 2: Purchase the SSL Certificate.
Once you’ve selected the appropriate SSL certificate, navigate to your Namecheap account and proceed to the SSL Certificates section.
Browse through the available options, select your desired certificate, and make the purchase. During this process, you’ll need to provide essential details, including your domain name and contact information.
Step 3: Configure and Generate the SSL Certificate.
After your purchase is complete, follow Namecheap’s instructions to configure the SSL certificate for your website. This typically involves generating a Certificate Signing Request (CSR).
The CSR is a unique key pair that binds your domain name to the SSL certificate. Namecheap will guide you through this process, so don’t worry if it sounds technical – their interface simplifies it.
Step 4: Verification and Approval.
Depending on the type of SSL certificate you’ve chosen, a validation process may be required. For DV certificates, this usually entails confirming domain ownership through email verification.
For higher-level certificates like OV and EV, additional documentation might be needed to verify your organization’s identity.
Step 5: Install the SSL Certificate.
Namecheap makes SSL certificate installation a breeze. Depending on your hosting platform, you might have the option to use the Namecheap SSL plugin or perform a manual installation.
The provided instructions will guide you through the necessary steps, ensuring a smooth and successful installation.
Step 6: Update Your Website’s URLs.
With the SSL certificate in place, it’s important to update your website’s URLs to reflect the secure protocol.
Replace “http://” with “https://” in your website’s links and resources to prevent mixed content warnings and ensure a seamless user experience.
Step 7: Test and Monitor.
After installation, thoroughly test your website to confirm that all pages load securely without any issues. Regularly monitor the SSL certificate’s expiration date to ensure uninterrupted protection.
Sponsored.
Are you ready to take your digital game to the next level? Discover a curated selection of cutting-edge digital products that promise to enhance your everyday life.
From productivity tools to entertainment essentials, here’s a roundup of must-have items that deserve a spot in your digital arsenal.
1. Namecheap.

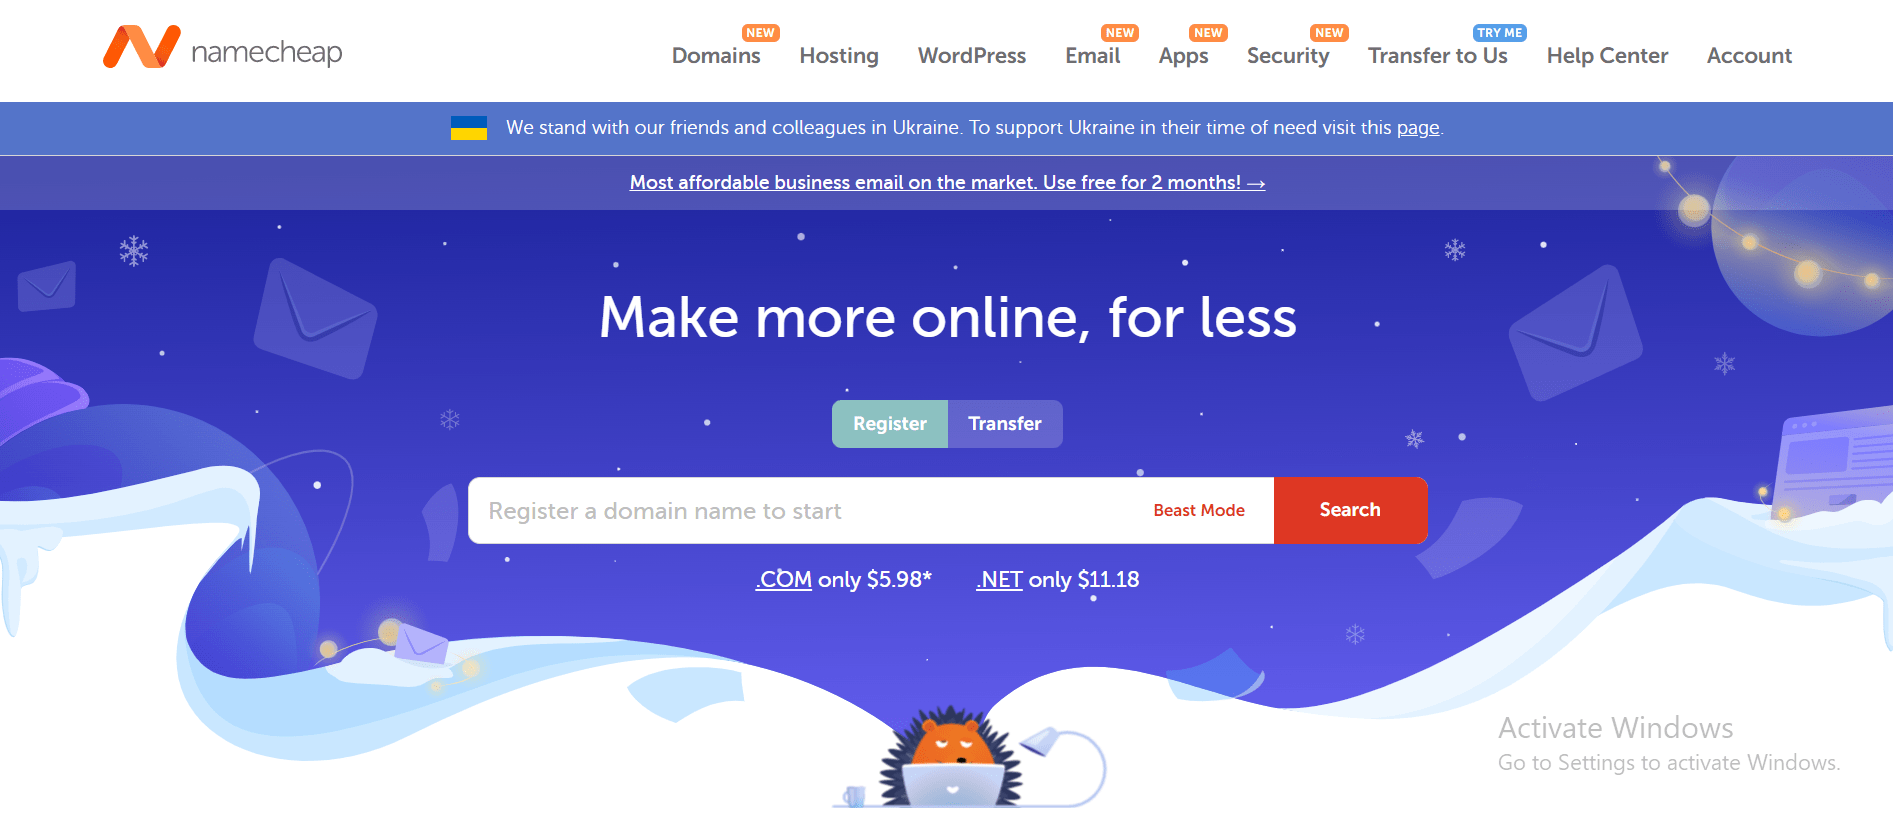
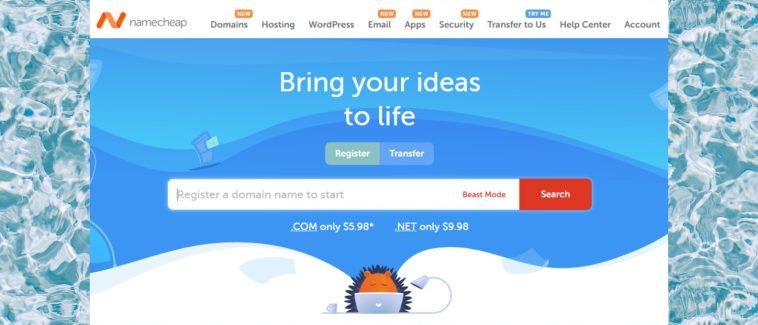
Namecheap is a popular domain registrar and web hosting company that has been in business for over two decades.
Namecheap is known for its affordable prices, user-friendly interface, and reliable customer support. One of the key benefits of Namecheap is its pricing, which is often significantly lower than that of its competitors.
Namecheap also offers a range of hosting options, including shared hosting, VPS hosting, and dedicated servers, making it a good choice for businesses of all sizes.
In addition to its hosting services, Namecheap also offers domain registration, website builder tools, and SSL certificates, making it a one-stop shop for website owners looking to establish an online presence.
Many users have reported positive experiences with Namecheap’s customer support team, citing their responsiveness and helpfulness in resolving issues and answering questions.
Namecheap also offers a knowledge base and community forums where users can find answers to common questions and connect with other website owners.
While some users have reported occasional technical issues or slow load times, the majority of reviews of Namecheap are positive, with users praising the company’s affordability, user-friendly interface, and reliable service.
Namecheap is a solid choice for anyone looking for affordable and reliable web hosting and domain registration services and is highly recommended by many of its users.
TRY IT NOW – Namecheap.com
Conclusion.
By adding an SSL certificate to your website on Namecheap, you’re proactively reinforcing your site’s security and building trust with your audience.
Namecheap’s user-friendly platform simplifies the process, allowing you to prioritize your visitors’ safety without grappling with unnecessary complexities.
Embrace this crucial step towards online security and elevate your website’s credibility while contributing to a safer digital environment for everyone.


GIPHY App Key not set. Please check settings