Introduction.
Website migration can be a transformative step, allowing you to benefit from Namecheap’s hosting services while retaining the familiar WordPress environment you’ve worked on.
Whether you’re switching hosting providers for better performance, enhanced features, or superior customer support, transferring your website manually ensures a smooth transition without compromising your hard work.
From preparing your website for migration to exporting and importing databases and files, this guide will provide you with a comprehensive set of instructions to successfully transfer your WordPress website to Namecheap.
Whether you’re a developer with technical expertise or a website owner looking to take control of the migration process, this guide equips you with the knowledge to execute a seamless transition.
So, if you’re ready to embark on the journey of migrating your WordPress website to Namecheap, let’s delve into the intricacies of manual migration and unlock the potential of your website with a hosting provider that aligns with your goals. Your pathway to an improved hosting experience starts here!
Why Transfer Manually?
While automated migration tools are available, manual migration offers a higher level of control and customization over the process.
This method enables you to meticulously manage every step of the transfer, ensuring that your website’s design, content, and functionality remain intact.
How Do I Transfer a WordPress Website To Namecheap Manually?
If you’re considering transferring your existing WordPress website to Namecheap manually, you’re embarking on a journey that combines the power of WordPress with the hosting excellence of Namecheap.
This article serves as your comprehensive guide to successfully transferring your WordPress website to Namecheap, ensuring a seamless transition and enhanced hosting solutions.
Step-by-Step Guide to Transferring a WordPress Website to Namecheap
1. Choose a Namecheap Hosting Plan.
Select a suitable hosting plan on Namecheap that aligns with your website’s needs and requirements.
2. Backup Your Existing Website.
Before making any changes, back up your existing website’s files, databases, and configurations. This step is crucial for preventing data loss.
3. Set Up the Hosting Environment.
Set up your hosting environment on Namecheap by creating an account, purchasing a hosting plan, and configuring domain settings.
4. Export Your Website’s Files.
Access your current hosting provider’s control panel and use an FTP client to download all website files to your local computer.
5. Export the Database.
Use phpMyAdmin or a similar tool to export your website’s database. Save the exported SQL file on your computer.
6. Upload Files to Namecheap Hosting.
Use the FTP client to upload the website files to your new hosting account on Namecheap.
7. Import Database to Namecheap Hosting.
Create a new database on your Namecheap hosting account and import the SQL file you exported earlier.
8. Update WordPress Configuration.
Edit the wp-config.php file with the new database information and credentials for your Namecheap hosting.
9. Update URLs and Links.
Use a search and replace tool to update all instances of your old website’s URL to the new one associated with Namecheap.
10. Test Your Website.
Thoroughly test your website on Namecheap’s hosting to ensure that all pages, posts, images, and functionality are working correctly.
11. Update DNS Settings.
Update your domain’s DNS settings to point to your new Namecheap hosting server. This step ensures that visitors are directed to your new hosting environment.
Tips and Considerations.
- Patience: Take your time during the migration process to avoid errors and ensure a smooth transition.
- Backup: Keep backup copies of your website’s files and database throughout the migration process.
- Test Locally: Before updating DNS settings, consider testing your migrated website on a local server or a staging environment.
Sponsored.
Are you ready to take your digital game to the next level? Discover a curated selection of cutting-edge digital products that promise to enhance your everyday life.
From productivity tools to entertainment essentials, here’s a roundup of must-have items that deserve a spot in your digital arsenal.
1. Namecheap.

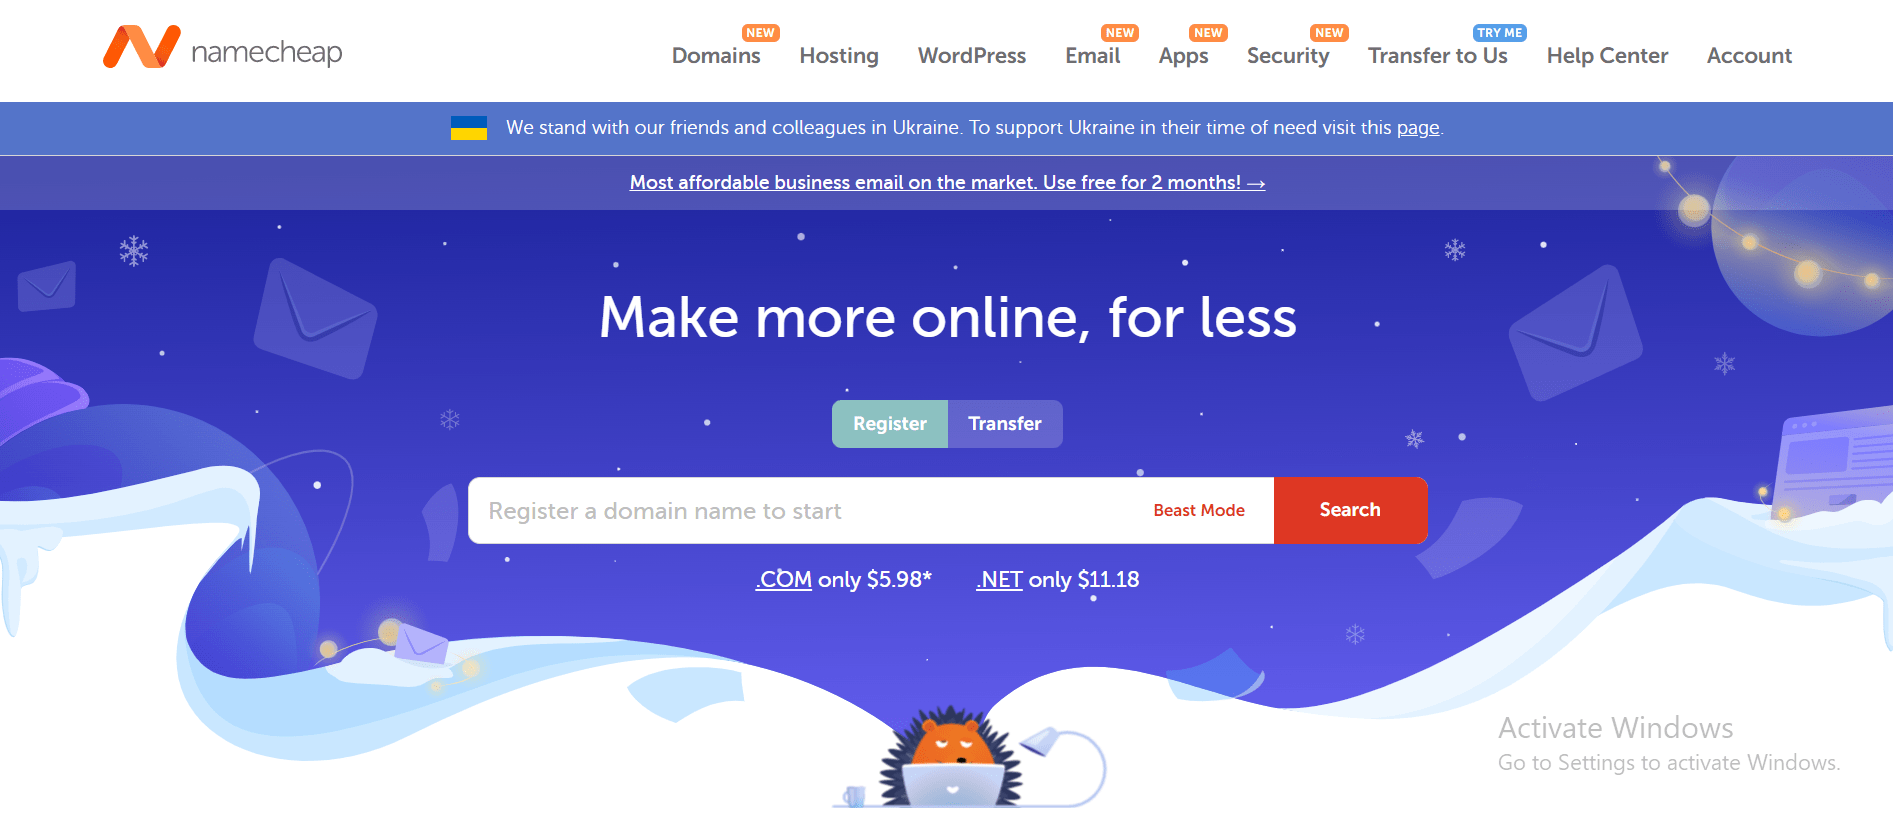
Namecheap is a popular domain registrar and web hosting company that has been in business for over two decades.
Namecheap is known for its affordable prices, user-friendly interface, and reliable customer support. One of the key benefits of Namecheap is its pricing, which is often significantly lower than that of its competitors.
Namecheap also offers a range of hosting options, including shared hosting, VPS hosting, and dedicated servers, making it a good choice for businesses of all sizes.
In addition to its hosting services, Namecheap also offers domain registration, website builder tools, and SSL certificates, making it a one-stop shop for website owners looking to establish an online presence.
Many users have reported positive experiences with Namecheap’s customer support team, citing their responsiveness and helpfulness in resolving issues and answering questions.
Namecheap also offers a knowledge base and community forums where users can find answers to common questions and connect with other website owners.
While some users have reported occasional technical issues or slow load times, the majority of reviews of Namecheap are positive, with users praising the company’s affordability, user-friendly interface, and reliable service.
Namecheap is a solid choice for anyone looking for affordable and reliable web hosting and domain registration services and is highly recommended by many of its users.
TRY IT NOW – Namecheap.com
Conclusion.
Transferring a WordPress website to Namecheap manually empowers you with control, customization, and a seamless transition.
By following the steps outlined in this guide, you’ll migrate your website without losing data or compromising functionality.
Whether you’re a developer seeking precision or a website owner striving for continuity, manual migration is a testament to your commitment to a flawless transition.
Embrace the possibilities that the combination of WordPress and Namecheap offers, and embark on a journey of enhanced website performance and management.
Your website’s migration journey begins with the decision to transfer it manually to Namecheap.


GIPHY App Key not set. Please check settings