Introduction.
In the digital landscape, establishing an online presence has become essential for individuals and businesses alike.
One of the fundamental steps in creating a website is uploading an HTML file to a web hosting service. Namecheap, a renowned domain registration and web hosting provider, offers an intuitive platform for users to manage their websites.
If you’re new to web development and curious about how to upload an HTML file to your Namecheap-hosted website, you’re in the right place.
This guide will walk you through the process, providing step-by-step instructions and insights to ensure a seamless upload of your HTML file.
Whether you’re setting up a personal blog, an e-commerce site, or a portfolio, understanding how to upload HTML files to Namecheap is a crucial skill that empowers you to share your content with the world.
Let’s delve into the details and get you started on your web development journey.
How Do I Upload an HTML File to Namecheap?
In today’s digital age, having a strong online presence is essential for individuals and businesses alike. Whether you’re creating a personal blog, an e-commerce site, or a portfolio, being able to upload an HTML file to your web hosting provider is a fundamental skill.
Namecheap, a popular domain registration and web hosting service, offers an easy-to-use platform for managing websites. In this guide, we’ll take you through the process of uploading an HTML file to Namecheap, allowing you to share your content with the world.
Step 1: Access Your Namecheap Account.
First and foremost, you need to log in to your Namecheap account. If you haven’t created an account yet, you’ll need to sign up.
Once logged in, you’ll have access to your account dashboard, where you can manage your domains, hosting, and other services.
Step 2: Navigate to cPanel.
After logging in, locate the hosting section in your dashboard. Click on the hosting package that corresponds to the website you want to upload your HTML file to. This will take you to the cPanel (Control Panel) of your hosting account.
Step 3: File Manager.
Within the cPanel, find the “Files” section and click on “File Manager.” This tool allows you to manage and upload files directly to your hosting account.
Step 4: Select Your Website Directory.
When the File Manager opens, you’ll see a list of directories. Locate the directory that corresponds to the website you’re working on.
This might be the public_html directory or a subdirectory if you’re organizing your files.
Step 5: Upload Your HTML File.
Once you’ve navigated to the correct directory, click the “Upload” button in the File Manager’s menu. A new window will appear, allowing you to select the HTML file from your computer. Choose the file and click “Open” to begin the upload.
Step 6: Verify the Upload.
After the upload is complete, you should see the HTML file listed in the directory. You can check this by refreshing the File Manager or navigating to your website’s URL in a web browser. The uploaded HTML file should now be accessible online.
Step 7: Test and Troubleshoot.
Before considering the process complete, it’s a good idea to open your HTML file in a web browser to ensure everything looks and functions as intended.
Sometimes, issues may arise due to incorrect paths, missing files, or other factors. If you encounter any problems, you can review the code, double-check file names and paths, and make any necessary adjustments.
Step 8: Share Your Content.
With your HTML file successfully uploaded and tested, you’re ready to share your content with the world.
Simply share the URL of your website with friends, colleagues, or customers, and they’ll be able to access the web page containing your uploaded HTML content.
Sponsored.
Are you ready to take your digital game to the next level? Discover a curated selection of cutting-edge digital products that promise to enhance your everyday life.
From productivity tools to entertainment essentials, here’s a roundup of must-have items that deserve a spot in your digital arsenal.
1. Namecheap.

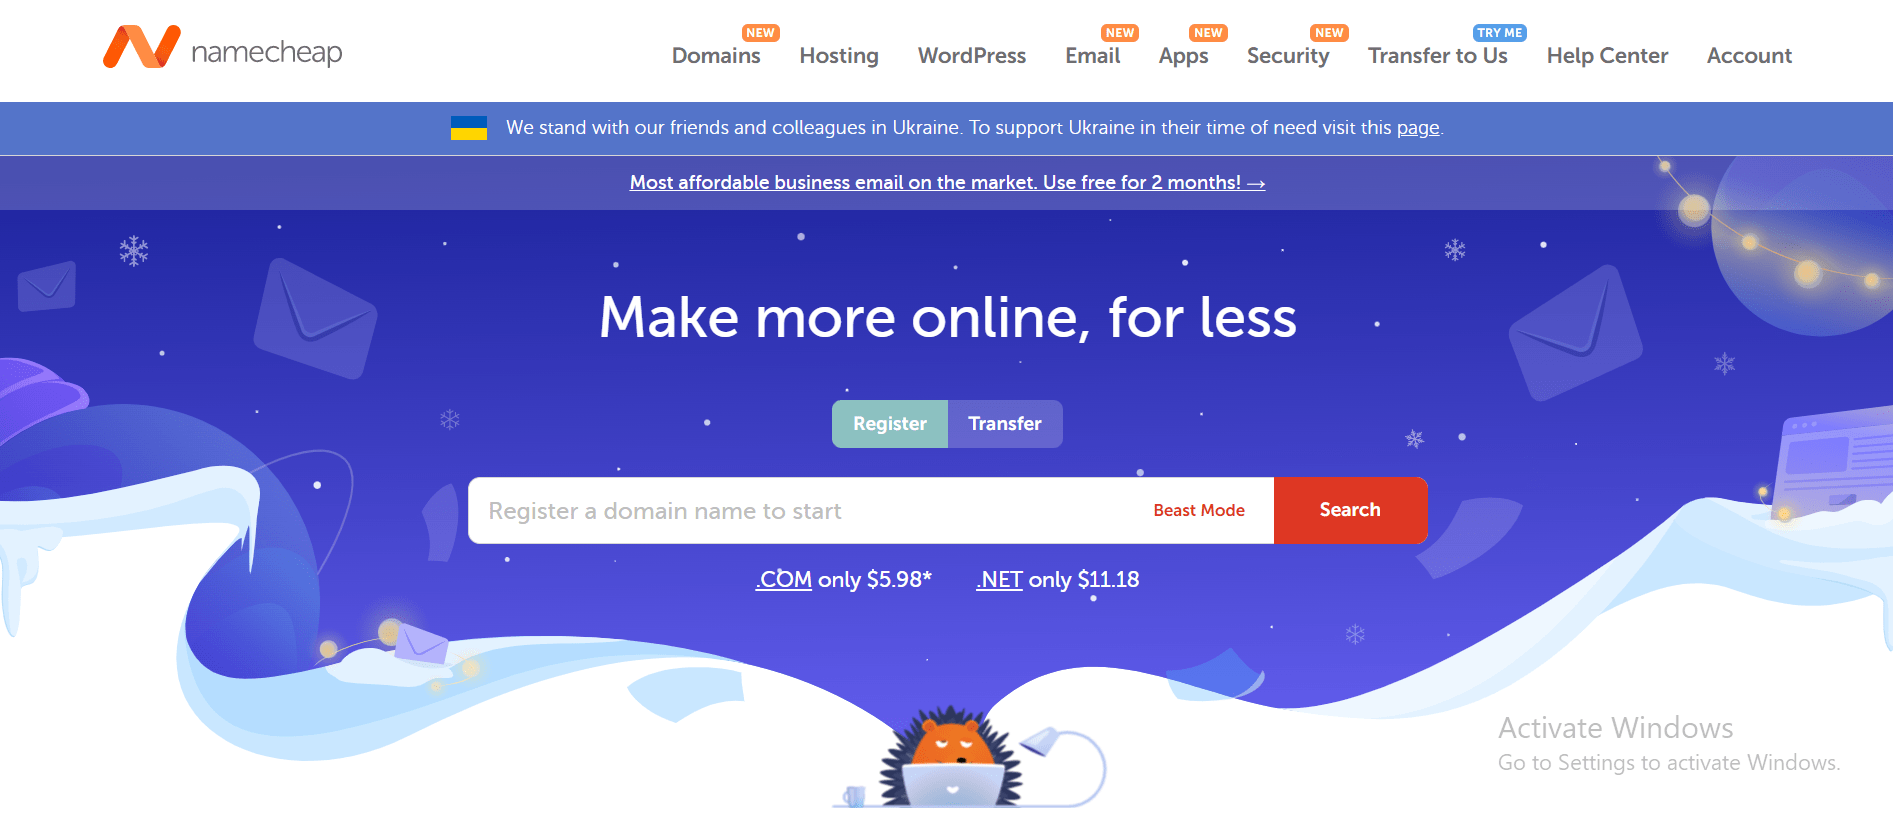
Namecheap is a popular domain registrar and web hosting company that has been in business for over two decades.
Namecheap is known for its affordable prices, user-friendly interface, and reliable customer support. One of the key benefits of Namecheap is its pricing, which is often significantly lower than that of its competitors.
Namecheap also offers a range of hosting options, including shared hosting, VPS hosting, and dedicated servers, making it a good choice for businesses of all sizes.
In addition to its hosting services, Namecheap also offers domain registration, website builder tools, and SSL certificates, making it a one-stop shop for website owners looking to establish an online presence.
Many users have reported positive experiences with Namecheap’s customer support team, citing their responsiveness and helpfulness in resolving issues and answering questions.
Namecheap also offers a knowledge base and community forums where users can find answers to common questions and connect with other website owners.
While some users have reported occasional technical issues or slow load times, the majority of reviews of Namecheap are positive, with users praising the company’s affordability, user-friendly interface, and reliable service.
Namecheap is a solid choice for anyone looking for affordable and reliable web hosting and domain registration services and is highly recommended by many of its users.
TRY IT NOW – Namecheap.com
Conclusion.
Uploading an HTML file to Namecheap is a crucial skill for anyone looking to establish an online presence.
By following these simple steps, you can easily upload your HTML content and share it with your target audience.
Namecheap’s user-friendly interface and the power of CPanel’s File Manager make the process smoother, even for those new to web development.
So, whether you’re a blogger, an entrepreneur, or an artist, use this guide to confidently upload your HTML file and showcase your online masterpiece to the world.


GIPHY App Key not set. Please check settings