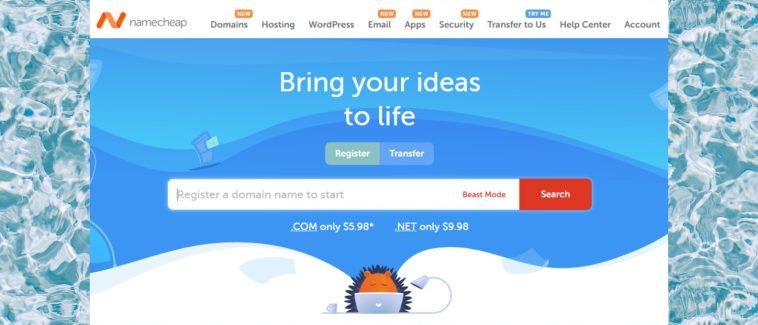
Introduction.
Namecheap’s commitment to security and transparency extends to verifying your contact details, safeguarding your online assets, and helping you establish a credible online presence.
Whether you’re a business owner, blogger, or individual, verifying your contact information ensures that you receive important notifications, comply with domain ownership regulations, and maintain a trustworthy online reputation.
From navigating Namecheap’s user-friendly interface to verifying email addresses and updating your contact details, this guide will provide you with step-by-step instructions to complete the verification process.
Whether you’re new to Namecheap or a long-time user, ensuring that your contact information is accurate and verified is an essential step in protecting your online interests.
So, if you’re ready to secure your digital identity and maintain a reliable online presence, let’s dive into the details of verifying your contact information in Namecheap. Your journey to confident online management starts here!
How Do I Verify My Contact Info In Namecheap?
Whether you’re a business owner, a blogger, or an individual, ensuring that your contact details are up-to-date is essential for receiving important notifications and establishing credibility.
Namecheap, a reputable platform for domain registration and hosting, offers a streamlined process for verifying your contact information.
In this article, we’ll walk you through the steps to successfully verify your contact details in Namecheap.
Why Verify Your Contact Information?
Verifying your contact information serves several important purposes:
- Domain Ownership: Verifying your contact details confirms that you are the legitimate owner of the domain, preventing unauthorized changes or transfers.
- Notifications: Accurate contact information ensures that you receive critical notifications regarding your domain, hosting, and account status.
- Compliance: Some domain authorities require verified contact information to meet regulatory and ownership requirements.
Step-by-Step Guide to Verifying Your Contact Information
1. Log in to Your Namecheap Account.
If you don’t already have a Namecheap account, create one. If you have an existing account, log in using your credentials.
2. Access the Dashboard.
Once logged in, you’ll be directed to your dashboard, where you can manage your domains and other services.
3. Navigate to Domain List.
Locate and click on the “Domain List” option in your dashboard. This will display a list of all the domains you’ve registered with Namecheap.
4. Choose the Domain to Verify.
Select the domain for which you want to verify the contact information. Click on the domain name to access its management settings.
5. Access Contact Information.
Within the domain management settings, locate the “Contact Information” or “Domain Contacts” section. Here, you’ll find your current contact details associated with the domain.
6. Verify Email Address.
In the contact information section, you’ll often find an email address associated with the domain. Click on the option to “Verify Email.” Namecheap will send a verification email to the provided address.
7. Check Your Email.
Open your email inbox and look for the verification email from Namecheap. Click on the verification link provided in the email.
8. Confirm Verification.
Once you’ve clicked the verification link, a confirmation message will appear. This confirms that your email address has been successfully verified.
9. Update Contact Information.
While you’re in the contact information section, ensure that all your details, including name, address, phone number, and email, are accurate and up-to-date. If necessary, make any required changes.
10. Save Changes.
After verifying and updating your contact information, be sure to save your changes within the Namecheap dashboard.
Stay Proactive.
Verifying your contact information in Namecheap is a proactive step in securing your online presence.
Regularly review and update your contact details to ensure that you receive important notifications and maintain control over your domains and hosting services.
By following these simple steps, you’ll ensure that your online assets are well-protected, compliant with regulations and that you’re positioned to effectively manage your online presence.
Whether you’re a seasoned website owner or just starting, the process of verifying your contact information in Namecheap is a fundamental aspect of responsible online management.


GIPHY App Key not set. Please check settings