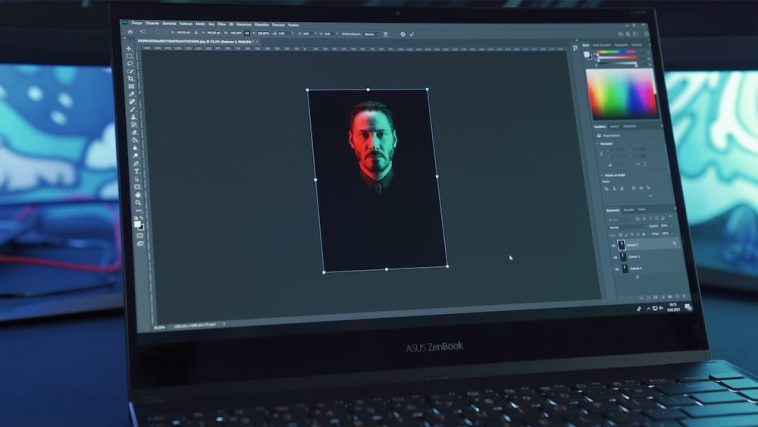
Introduction.
Welcome to the captivating realm of digital artistry and image manipulation! If you’ve ever wondered how to seamlessly insert your face into a picture, then you’re in for a thrilling and creative journey.
With the power of Adobe Photoshop, the renowned image editing software, you can achieve the seemingly impossible – placing yourself into any scene, context, or situation you desire.
This fascinating technique, often referred to as “face insertion,” allows you to create eye-catching and imaginative compositions that blur the lines between reality and fiction.
In this guide, we will walk you through the step-by-step process of how to Photoshop your face into a picture, providing you with the skills and tools necessary to embark on your own visual adventures.
So, let’s dive into the enchanting world of face insertion with Photoshop and unlock the ability to weave yourself into the fabric of any image, crafting visual masterpieces that will leave others marvelling at your digital artistry!
How Do I Photoshop Your Face Into a Picture?
Among the fascinating techniques at your disposal is the art of face insertion, enabling you to seamlessly place your face into any picture or scene you desire.
Whether you dream of starring in a famous movie poster, exploring far-off lands, or simply amusing your friends with humorous self-insertion, learning how to Photoshop your face into a picture can be an exciting and rewarding endeavour.
In this comprehensive guide, we will take you through the step-by-step process of face insertion using Adobe Photoshop.
From image selection and proper layering techniques to blending your face seamlessly into the new environment, we’ll equip you with the skills to craft visually stunning compositions that blur the lines between reality and imagination.
However, we must stress the importance of ethical use and respect for copyright laws. Always ensure you have the right to use the images you manipulate, and never share content that could infringe upon someone else’s rights or cause harm.
Let’s embark on this thrilling journey into the realm of self-insertion, where you can turn your wildest visions into captivating digital art!
Step 1: Choose Your Images Wisely.
Selecting the right images is paramount to achieving a convincing and visually appealing face insertion.
Opt for a picture of yourself that closely matches the lighting, angles, and perspective of the target image.
This ensures a smoother blending process later on. Additionally, choose images with high resolution to maintain image quality.
Step 2: Open Images in Photoshop.
Launch Adobe Photoshop and open both your face image and the target picture as separate layers. Use the “File” menu and select “Open” to import the files.
Step 3: Isolate and Prepare Your Face.
Using the “Pen Tool” or “Quick Selection Tool,” carefully isolate your face from its original background.
Create a selection around your face, including hair and defining features. Once selected, copy and paste your face onto a new layer.
Step 4: Resize and Position Your Face.
Adjust the size and position of your face layer to fit seamlessly into the target image. Utilize the “Edit” menu and choose “Free Transform” to scale, rotate, and position your face accurately.
Step 5: Refine Edges and Blending.
To achieve a natural blend, focus on refining the edges of your face layer. Use the “Eraser Tool” or “Layer Mask” to erase any harsh edges and seamlessly integrate your face into the new environment. Pay attention to the lighting and shadows in the target image to ensure a realistic result.
Step 6: Match Colors and Lighting.
Harmonize the colours and lighting of your face with the target image. Use adjustment layers like “Hue/Saturation,” “Curves,” and “Color Balance” to match the overall tones and hues, enhancing the realism of your face insertion.
Step 7: Add Shadows and Highlights.
To further enhance the integration of your face, consider adding subtle shadows and highlights. Create new layers and use soft brushes with low opacity to paint shadows and highlights where needed.
Step 8: Fine-Tune Details.
Pay attention to small details like hair strands, reflections, or facial features that might be partially obscured.
Use the “Clone Stamp Tool” or “Healing Brush Tool” to fix any imperfections and ensure a seamless blend.
Step 9: Review and Save.
Zoom out and review the entire composition for any inconsistencies or visual oddities. Once satisfied with the result, save your edited image in a suitable format, preserving your creation for future sharing or adjustments.
Conclusion.
Congratulations! You’ve unlocked the power of face insertion with Photoshop, a skill that allows you to become a part of any world you envision.
Whether you wish to create whimsical images, embark on creative storytelling, or simply enjoy a playful self-insertion, this guide has equipped you with the knowledge to craft captivating compositions that blur the boundaries between reality and art.
As you continue to explore the realm of digital artistry, always remember to respect copyright laws and seek permission when using images belonging to others.
With ethical consideration and a dash of creativity, you can continue to produce stunning face insertions that showcase your unique vision and artistic prowess.
So, have fun, experiment, and let your imagination soar as you Photoshop your face into a picture and create visual masterpieces that captivate and inspire!


GIPHY App Key not set. Please check settings