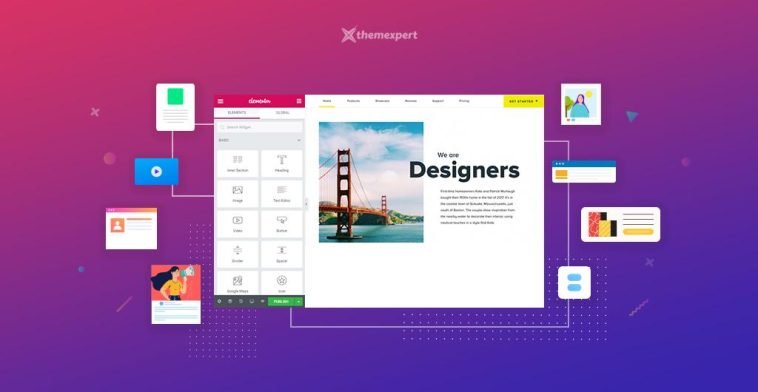
Introduction.
While WordPress provides default templates for your blog posts, customizing and designing a post page to match your brand’s style and content layout can greatly enhance the reader’s experience.
If you’re a WordPress enthusiast using the versatile Elementor page builder, you’re in for a treat. Elementor empowers you to design stunning and unique post pages that captivate your readers and leave a lasting impression.
In this guide, we’ll delve into the art of designing a post page in WordPress using Elementor.
You’ll discover how to leverage this powerful tool to create post templates that reflect your brand’s identity, maintain consistency, and provide an immersive reading experience.
Let’s embark on the journey of transforming your standard post pages into captivating and professionally designed content hubs.
The Significance of a Custom Post Page
Before we dive into the “how,” let’s first understand the “why.” Why should you invest time and effort in designing a custom post page in WordPress?
- Brand Consistency: A custom post page allows you to maintain brand consistency throughout your website. You can match the colors, fonts, and styles to your brand’s identity.
- Enhanced User Experience: A well-designed post page makes it easier for readers to consume your content. It can improve readability, navigation, and overall user experience.
- Engagement: Eye-catching visuals, strategically placed call-to-action buttons, and related content suggestions can boost reader engagement.
- Uniqueness: Stand out from the crowd by creating a unique design that sets your content apart from others in your niche.
Now that we understand the importance, let’s explore the steps to design an impressive post page using Elementor.
Prerequisites:
Before we begin, ensure you have the following prerequisites in place:
WordPress Installed: You should have a WordPress website up and running.
- Elementor Plugin: Install and activate the Elementor page builder plugin if you haven’t already. You can find it in the WordPress plugin repository.
- Elementor-Compatible Theme: Choose a WordPress theme that is compatible with Elementor for greater design flexibility.
How Do I Design a Captivating Post Page in WordPress Using Elementor?
When it comes to engaging your audience and delivering your content effectively in the world of WordPress, the design of your post pages plays a pivotal role.
While WordPress offers default templates for your blog posts, customizing and designing your post pages with a touch of uniqueness can significantly enhance the reader’s experience.
For WordPress enthusiasts who embrace the power of the Elementor page builder, this journey into creativity becomes even more exciting.
Elementor empowers you to break free from the constraints of standard post templates and design stunning, unique post pages that resonate with your brand’s identity and captivate your readers. In this comprehensive guide, we will explore the art of designing a post page in WordPress using Elementor.
You’ll learn how to harness the full potential of this versatile tool to create post templates that not only reflect your brand but also provide an immersive reading experience.
Step 1: Create a New Post Page Template.
- Access the Elementor Editor: Navigate to your WordPress dashboard and select the post page you want to design or create a new one.
- Launch Elementor: Click the “Edit with Elementor” button to launch the Elementor editor.
- Create a New Template: In the Elementor editor, click the folder icon to access the templates library. Then, click the “Add New” button to create a new template for your post page.
Choose a Template Type: Elementor offers various template types. For a post page, select “Single” as the template type.
Step 2: Design Your Post Page.
Now that you’ve set up your template, it’s time to design your post page:
- Add Sections and Widgets: Use Elementor’ s drag-and-drop interface to create sections and add widgets to your post page template. You can include elements like headers, featured images, content blocks, author bios, related posts, and more.
- Customize the Design: Customize the design of each element by adjusting fonts, colours, margins, and padding. Elementor offers a wealth of design options to match your brand’s style.
Step 3: Include Dynamic Content.
To make your post page template dynamic and adaptable to different posts, use Elementor’ s dynamic content capabilities:
- Dynamic Text: You can insert dynamic text elements like the post title, author name, and publication date that automatically update based on the post being viewed.
- Featured Image: Use the dynamic featured image widget to display the post’s featured image.
- Related Posts: Include a dynamically related posts section to engage readers further.
Step 4: Configure Post Page Settings.
To ensure your custom post page template is applied to all your post pages, configure the settings:
- Publish the Template: Click the “Publish” button to save your template.
- Set as Default: In the WordPress dashboard, go to “Elementor” > “Settings.” Under the “Default Kit” option, select the kit where you saved your post page template.
- Apply Template to Posts: In the post page editor, go to the “Document” tab on the right-hand side. Under “Post Attributes,” select your post page template as the “Elementor Template.”
Step 5: Test and Refine.
Before you go live with your custom post page, thoroughly test it on different devices and browsers to ensure it looks and functions as intended. Make any necessary refinements to optimize the reading experience.
Step 6: Publish Your Custom Post Page.
Once you’re satisfied with your custom post page design and functionality, click “Update” or “Publish” to make it live on your website.
Conclusion.
Designing a custom post page in WordPress using Elementor is a creative endeavour that can significantly enhance your website’s aesthetics, user experience, and brand identity.
By following these steps, you can craft post-page templates that make your content shine and leave a memorable impression on your readers.
Elementor’s flexibility and dynamic content features empower you to take your post pages to the next level, creating a truly immersive reading experience for your audience.


GIPHY App Key not set. Please check settings